
Vinyl Sticker Printing from your file to a finished sticker
Vinyl sticker printing is a sequence of steps, each affecting the finished result: preparing the file, printing onto vinyl, adding a protective laminate, cutting to shape and packing as singles, sheets or rolls. Knowing what happens at each stage helps you supply better artwork and choose options with confidence.
- Artwork review and PDF proof before printing
- Print, laminate and cut chosen for your use
- Singles, kiss-cut sheets or rolls
Free quote · 10-12 working days from the day you approve your digital proof
 File to finished vinyl
- PDF proof firstNothing prints until you approve it
- Free artwork reviewYour file checked before production
- Custom sizes & shapesMade to your dimensions
- UK-wide delivery10-12 working days from proof approval
Explore vinyl sticker types
The printing process is shared, but the film and finishing change. Explore each option in depth.
Custom vinyl stickers
Our main vinyl sticker range.
View Custom vinyl stickersWhite vinyl stickers
Opaque white film for true colour.
View White Vinyl StickersClear vinyl stickers
Transparent film for see-through designs.
View Clear Vinyl StickersLaminated stickers
A protective layer over the print.
View Laminated StickersLetter cut stickers
Individual letters cut from coloured vinyl.
View Letter Cut StickersRoll stickers
Vinyl stickers supplied on a roll.
View Roll StickersVinyl Stickers products
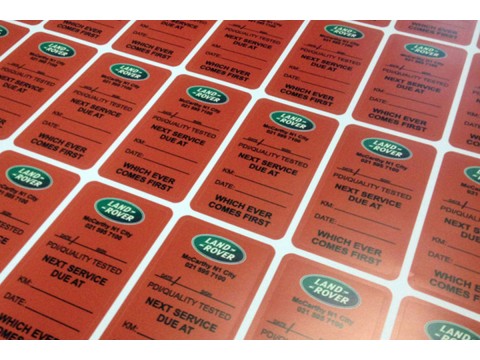
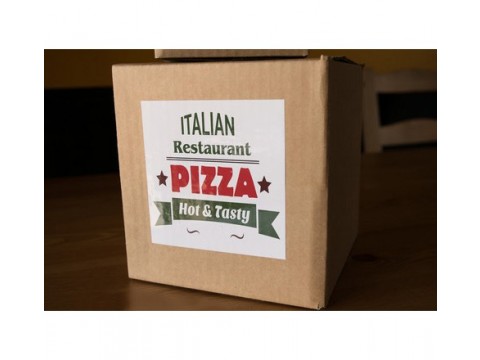
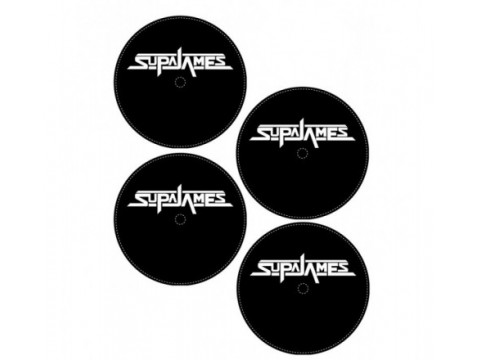
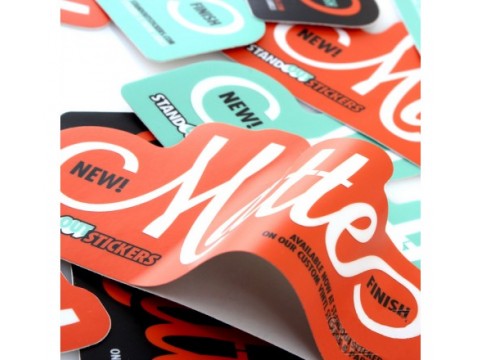
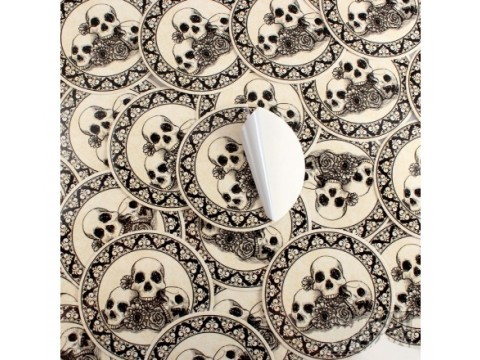
What happens when your vinyl stickers are printed
Here is the journey a vinyl sticker takes, stage by stage, and the choices you can make along the way.
Why choose vinyl sticker printing?
Vinyl is a flexible plastic film that resists water and bends with curved surfaces. It accepts full colour print, cuts cleanly into complex shapes and can be laminated for extra protection, which makes it the workhorse of the sticker world.
Because the process is the same whether you order one design or a whole range, vinyl printing handles mixed orders well. Different artwork can share the same material, laminate and cutting setup.
It is also adaptable. Change the film to clear or metallic, the laminate to matte, or the cut from circle to custom outline, and the same process produces a very different sticker.
Popular uses for printed vinyl stickers
Printed vinyl stickers serve jobs such as:
- Brand and logo stickers – for laptops, packaging and giveaways.
- Product labels – bottles, jars and tubs that may get wet.
- Vehicle and window graphics – business details and decorative designs.
- Merchandise – die-cut designs sold by artists, bands and online shops.
- Signage and information – notices for doors, equipment and workplaces.
Stage one: artwork, review and proof
Everything starts with your file. We ask for CMYK artwork at 300 DPI, with vector files preferred for logos and text because they stay sharp at any size. If you want a die cut, include the cut outline or tell us to follow the edge of the design.
Our team reviews the artwork free of charge, looking for low resolution, missing bleed, text too close to the edge and colours that may shift in print.
We then send a PDF proof showing the design, size and cut line. Nothing is printed until you approve it, so this is the moment to check spelling, dimensions and layout carefully.
Stage two: print, laminate, cut and pack
Your artwork is printed in full colour onto the vinyl you have chosen: white for opaque colour, clear for a see-through effect or metallic for a sheen.
Next, a laminate can be applied over the print. Gloss makes colours pop; matte reduces glare. The laminate protects the ink from scratches, moisture and cleaning, which matters for stickers used outdoors or handled often.
Finally, the stickers are cut. A die cut goes through vinyl and backing to create individual stickers, while a kiss cut slices only the vinyl so several stickers stay on one sheet. Stickers for fast application can be supplied on rolls.
How understanding the process helps your project
Knowing what each stage does helps you choose well. If your sticker will sit outside, you will know to ask for laminate; if it is part of a set, you will know kiss-cut sheets exist.
It also helps you prepare artwork that moves smoothly through review and proofing, which is where most delays originate.
And it makes comparing options easier, because you can see exactly which choice affects appearance, protection or format.
Why customers choose AStickerPrinting for vinyl sticker printing
We explain each option in plain language and recommend the film, laminate and cut that fit your use, instead of defaulting to the same specification for everyone. The artwork review is free, and the PDF proof puts you in control of the final design.
Printing and finishing take 10–12 working days after you approve the proof, and completed orders are delivered UK-wide.
Choices at each stage
Each step of vinyl printing offers options you can set for your order.
Start your vinyl sticker order
Upload your artwork and tell us the size, quantity and where the stickers will be used. We will recommend options and send a quote.
- Share your requirements
- Approve your PDF proof
- Printed & delivered UK-wide
Why UK businesses order Vinyl Stickers from us
You approve every job first
We send a PDF proof for your approval before anything is printed, so size, colour and layout are signed off by you.
Made to your specification
Size, shape, material and finish are set for each order rather than chosen from a fixed list.
A timeline you can plan around
Typical turnaround is 10-12 working days, counted from the day you approve your digital proof. Ask about faster arrangements before you order.
Vinyl Stickers questions, answered
What file format should I send for vinyl sticker printing?
Vector files such as AI, EPS, SVG or vector PDF are preferred. Raster images should be CMYK at 300 DPI at the printed size.
What is the difference between die cut and kiss cut?
A die cut goes through both the vinyl and its backing to create individual stickers. A kiss cut goes through the vinyl only, keeping several stickers on one sheet.
Do I need a laminate on my vinyl stickers?
Laminate is recommended for stickers used outdoors, handled often or cleaned regularly. For short-term indoor use it may not be necessary.
What happens during the artwork review?
We check resolution, colour mode, bleed and text placement, and let you know about anything that could affect print quality. The review is free.
Can I change my design after seeing the proof?
Yes. The proof exists so you can request changes before anything is printed. Once you approve it, production begins.
Can different designs be printed in one order?
Yes. Several designs can share the same vinyl, laminate and cutting setup. Tell us the quantity of each design when you request a quote.
How long does vinyl sticker printing take?
The production stages take 10–12 working days, starting when you approve your PDF proof.
- Quality checkedArtwork reviewed and proofed before print
- Clear turnaround10-12 working days from approval
- Tailored quotesPriced for your size and quantity
- Design supportFree artwork review on every order